
I was pondering one day the irony of an SAP consultant with well over a decade of SAP experience who has never himself attempted an SAP ECC 6.0 IDES installation. After doing some research, I discovered that I had what it took to actually do it myself. In this series, I will walkthrough the process of this installation from end to end.
How I’m Structuring This Series
This series will be broken out into several parts. In this first article, I’m going to walk through some of the prerequisites I needed to successfully install. I will also tackle the setup of the Virtual Machine and the installation of Windows Server 2008.
In Part 2, I will walk through the preparation of the virtualized server for the installation of Oracle and SAP. This includes OS preparations as well as a few software installations.
Part 3 will cover the installation of Oracle and SAP as well as some post-installation tasks.
Part 4 is an appendix which contains information that I found relevant and useful once your system is up-and-running.
Allow Me to Clear Up A Few Things Up Front
This is a “How I” article and not a “How To” article. Hopefully, you’ll be able to follow these same steps and be well on your way to running our own instance of SAP. But, I have no idea if this is the best or worst, most or least efficient method to use. All I know is that it appears to have worked.
Also, I am using a Virtual Machine for this installation. There are several reasons to use a VM:
- The environment within a VM is very controlled and therefore more predictable.
- A VM is, for the most part, isolated from the host system. It will be less impacted by processes and services running on the host machine which could affect server operation.
- VM’s offer quick configurability. You can increase or decrease performance as needed by changing the parameters of the VM.
- I can’t say for sure, but the VM should be more portable. I should be able to lift-n-shift the whole thing in the event that I wish to move it to a different physical computer.
Many people may find this less convenient to run it in a VM, but in my case the benefits outweigh the inconvenience. Of course, it isn’t REQUIRED to use a VM, but I think it’s the best solution for my needs.
One final Note, I am not a technical SAP guy. There are a lot of steps to this installation and I won’t be able to provide details behind each one. I will try my best to explain things along the way, but if I gloss over some things it’s a safe assumption that I haven’t the foggiest idea of what the TRUE requirement is.
SAP ECC 6.0 IDES – Prerequisites
Here is what I found I needed in order to complete the installation:
- Computer
- SAP “S Number” with Download Authorization
- SAP Software Provisioning Manager
- Oracle VirtualBox 4.3.28
- Windows Server 2008 R2 x64 with SP1
- Java SDK 7u67 for 64-bit Windows
- Time
Let’s look a little closer at each one.
Hardware
I’m running a humble, aging Dell Inspiron 530. But I’ve got it “suped up” with 8GB of Ram; a 64-bit, 3 GHz quad-core Q9650 processor; and a 3-disk RAID array offering almost 800 Gigs of storage (in addition to the 150 Gig OS partition). I can’t say whether or not a 32-bit setup is recommended or even possible.
SAP “S Number”
This is the best way to get the software you need. If you’re already an SAP Professional, you probably already have an S Number to access the SAP KB articles. You also have access to browse the SAP Software Downloads catalog. Keep in mind that you may not have access to all SAP products; this will depend on your relationship with SAP. If you are an integration consultant, you should be able to access nearly everything. However, you may need additional authorization to actually initiate a software download. Someone within your organization should be able to help you get this access, if needed.
SAP Software Provisioning Manager
You can pick up this application here. This is basically SAP’s universal installer. It replaced SAPINST, from what I read. Unfortunately, when you download this from SAP, it will be in their proprietary .SAR archive. You will need to use the SAPCAR.exe utility (included in the other packages) to extract the files. There are some additional instructions here.
Oracle VirtualBox 4.3.28
I acquired a copy of VirtualBox from the VirtualBox.org website. It’s freely available and seems to run rock-solid on my setup.
Windows Server 2008 R2 x64 with SP1
You will need some sort of OS to run on the VM. I chose Windows Server 2008 which is based on the Windows 7 OS. It’s more familiar to me as compared to Server 2012 and I know that it will have solid, predictable performance. I’m installing with an .ISO file.
Java SDK
This is a requirement for launching the Oracle and SAP installation processes. I used the following version:
jdk-7u67-windows-x64.exe (130mb)
Time
The software download alone takes about a day on a relatively slow connection. The Server OS setup and updates take forever. Unpacking the required files takes additional time as does the installation. For me, there was also a healthy learning curve as I am a functional consultant and this is my foray into SAP setup activities. I won’t even admit the number of times I attempted this process before it finally worked. If you’re new to this, I would expect the whole process to take several days and not hours. …assuming you don’t run into issues.
STEP 1: Download the SAP Software
It makes sense to start tackling this step first since it requires a bit of lead time.
-
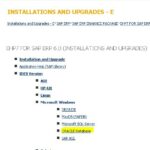
Path To SAP Downloads Log into the SAP Support website.
- Click on ‘Download Software’.
- Click on ‘Installations & Upgrades’.
- Click on ‘A-Z Alphabetical List of My Products’.
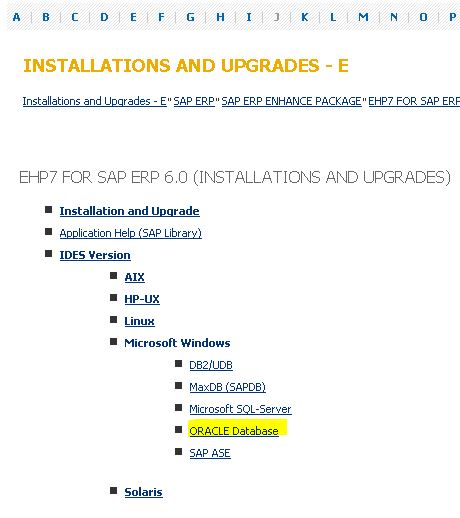
- Click on ‘E’ (for “ERP”)
- Scroll down and select ‘SAP ERP’ from the list.
- Select the ‘SAP ENHANCE PACKAGE’ option.
-
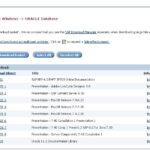
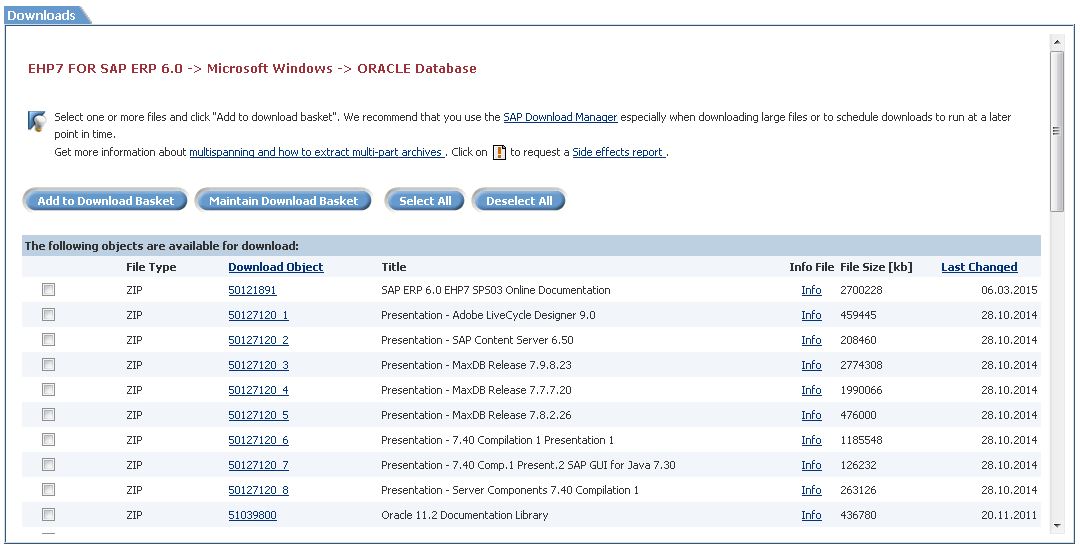
Partial List of the available files. Select your desired EHP; I chose ‘EHP7 FOR SAP ERP 6.0’.
- Select ‘IDES Version’.
- Select ‘Microsoft Windows’.
- Finally, select ‘Oracle Database’.
- Scroll down and you will see the packages associated with this Installation. You can either select ONLY the ones you want based on their description, or you can do what I did and ‘Select All’ and ‘Add To Download Basket’.
-
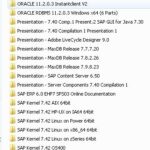
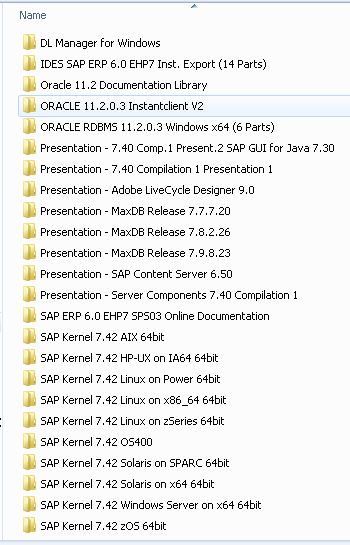
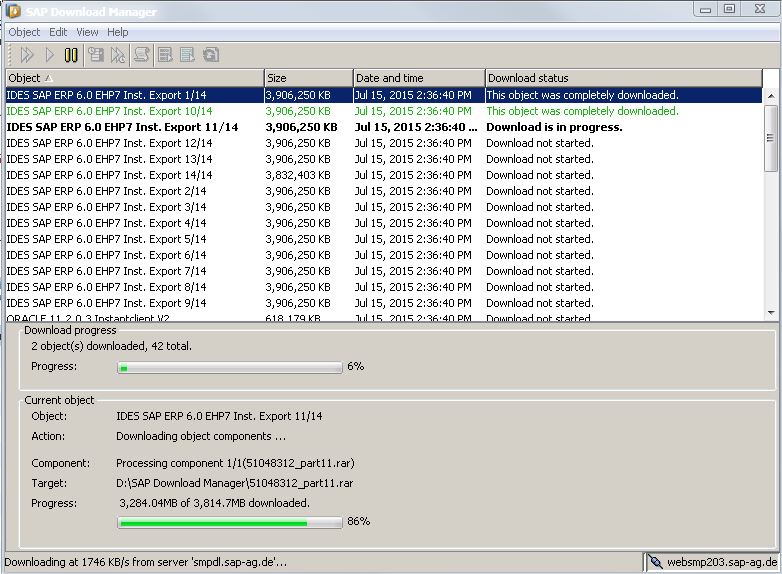
Organized Folders of Downloaded Software If you haven’t already, install the SAP Download Manager (there’s a link on the screen). You will need to make sure that the Java JRE is already installed on your system PRIOR to installing the DL Manager.
- Using the DL Manager, download the SAP packages.
I came across some inconsistencies during the installation of SAP. In short, the Oracle versions expected for
the database and client were different from what was included in the packages. To get around these issues, I also downloaded the following items:
- ORACLE RDBMS 12c (a.k.a. ‘12.1’)
- ORACLE Client 12.1
I organized all the packages into their own folders to make it easier to see what I had.
STEP 2: Setting Up Your Virtual Machine
I’m going to assume that you have an existing host machine that is already running Windows 7.
- Install VirtualBox using the installation wizard. It’s not difficult and I’m sure you can find a guide or two online if needed.
- IF YOU WANT YOUR VM TO RESIDE ON A DIFFERENT DRIVE FROM YOUR OS: In the VirtualBox settings (File –> Preferences –> General), change the Default Machine Folder to some location on your desired target drive. In my case, I chose “D:\Virtual Machines\”. Otherwise, Snapshots that you take (more on that later) will be placed on your OS partition and not your desired target drive.
-
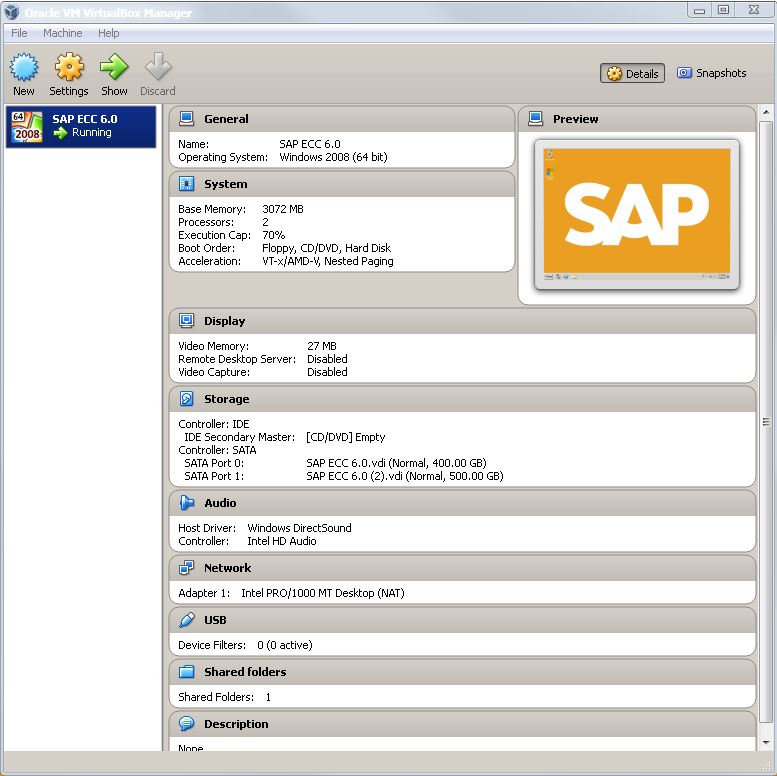
Here is what my VM Setup looks like Create a new VM with the wizard. I created one with the following attributes:
- Indicate Windows 2008 as the OS.
- Allow it to use 2 of my 4 cores.
- Allow it to use 3 of my 8 Gigs of RAM.
- 2 Dynamically sized drives:
- One for the OS sized at 60 Gigs (or more, to be safe)
- One for the SAP installation at least 500 Gigs
- Network mode: Bridged
Note: This is an optional step, but a Bridged mode can help make it easier to access this server via Remote Desktop. Details later on.
You don’t need to worry too much about disk space initially. Using the ‘Dynamic’ option for the virtual HDD’s will take up very little space at first and grow to the max sizes you specified as you need them. Also, the number of cores and amount of RAM should be adjustable in the future, so don’t worry if you setup seems slow; you can adjust it up later.
STEP 3: Install Windows Server 2008 and Required Updates
Now the fun begins.
- In the VM, map the virtual DVD drive to either (a) your physical DVD drive containing your OS disk, or (b) an .ISO file containing the OS installation image.
- Start your VM. The machine should launch the OS installation process.
- Complete the installation as you normally would:
- Select your OS “drive” (the one with ~60+ Gigs).
- Create the OS partition. I made mine ~40 Gigs. I’m praying that mine is large enough; the OS alone is taking up 21 Gigs which was a surprise.
- Install the OS on your new partition. You can create the remaining partitions later.
- Give your computer a name; I chose ‘SAPECC6’. It was between that and ‘SUPERFLY’.
- You’ll want to probably run through the ‘Windows Update’ process multiple times to make sure you are completely up-to-date. It can take hours to download and install all the updates. …and then it can take hours more once you’re rebooted and found more updates. At that point, you may want to switch off the Windows Automatic Updates process to avoid problematic updates from crippling your server.
STEP 4: Take a VirtualBox Snapshot
Please… I’m begging you… Take a Snapshot in VirtualBox. At this point in the process, you have a fresh, clean server. If your installation goes awry, it will save SO much time to be able to come back to this exact point, and that is exactly what a VirtualBox Snapshot does. It creates a sort of Restore Point which will make an exact copy of your server — bit for bit — and allow you to return to this point if you need to start all over. I learned this lesson the hard way.
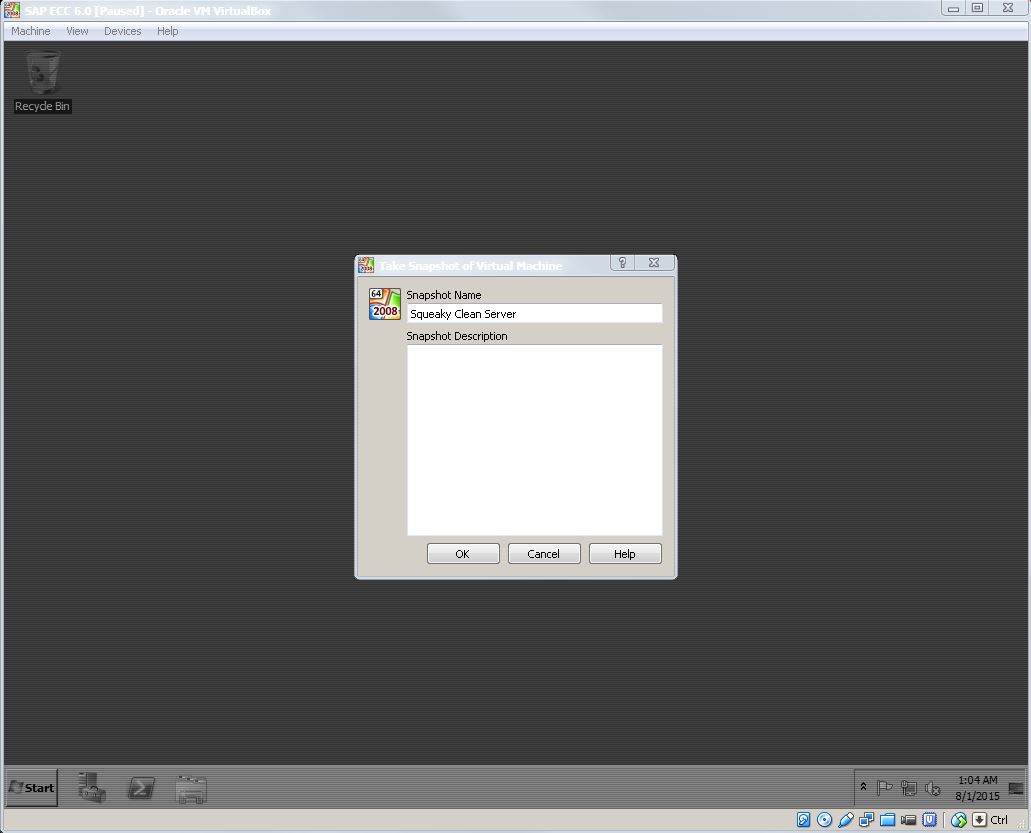
To take a Snapshot:
- With the machine still running, select the Machine –> Take a Snapshot menu option.
- Give the Snapshot a name, such as Squeaky Clean Server.
- Click Save.
- Give yourself a pat on the back; you’ve just saved yourself a headache (or two).
Part 1 Wrap-up
Phew… That was a lot of work and there’s not too much to show for it. But, on the bright side, you now have a great foundation for your SAP ECC 6.0 IDES installation. So far, we’ve discussed all the components needed to install SAP, we’ve downloaded the required software and created a Virtual Machine where our SAP ECC 6.0 IDES installation will live. In the next part, we will continue refining our VM and complete the preparation for the installation of Oracle and SAP.
Ready? Continue on to Part 2…
Leave a Reply